Navigation: WireCAD Specific CAD Functions > WireCAD Equipment Library Functions > Basic Library Functions >
Adding Rack Layout Blocks to Drawing


|
Navigation: WireCAD Specific CAD Functions > WireCAD Equipment Library Functions > Basic Library Functions > Adding Rack Layout Blocks to Drawing |
|
|
Adding Rack Layout Blocks ![]()
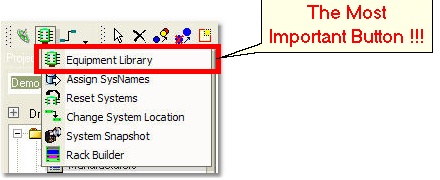
Menu: Tools>Equipment>Equipment Library ~ Find Tab
Default keyboard shortcut: LE
Function:
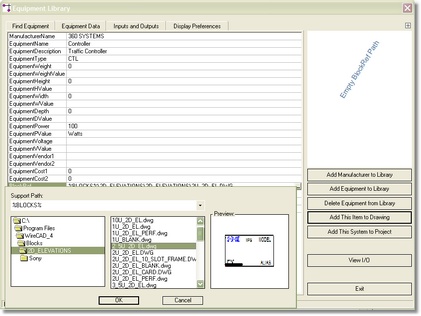
Add a Rack Layout representation of the selected equipment to the current drawing. The Rack Layout block relies on a pointer to an external CAD file that represents the 2D elevation of the device:
The Equipment Library may also contain information about systems or equipment that have no Inputs and Outputs, only mechanical representations, such as equipment racks.
How To: Add a Rack Layout Block to a Drawing.
Assumes that you have already added the Manufacturer, Equipment and fill in the BlockRef field.
1. From the Find tab, select the desired equipment. |
|
2. Switch to the Mechanical View by clicking <View Mechanical>. If the Preview does not display a block, you will need to fill in the BlockRef field. |
|
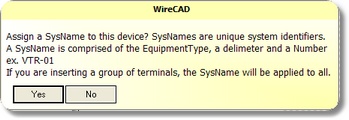
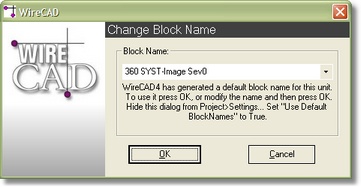
3. Click <Add This Item to Drawing>. What happens next depends on the Use Default Block Names setting. If False, you will be given a chance to name the block, otherwise WireCAD will name it for you.
Note. The Equipment as it is currently displayed will be added to the Blocks table of the drawing file and you will be able to place an Insert of the block in the Active drawing space. |
For more on Assigning SysNames see here.
Use Default Block Names = False:
|
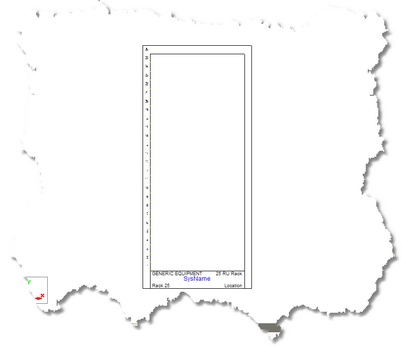
How To: Create a Rack Panel That Works with WireCAD
Assumes that Rack Panel Builder plugin is installed and registered on your machine. This is part of the default installation.
1. Open a new drawing. |
|
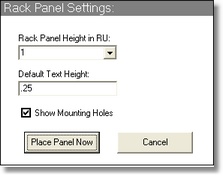
2. Launch the Rack Panel Builder plugin. Plugins>Rack Panel Builder... |
|
3. Select the number of RU spaces, the Default Text Height, and click <Place Panel Now> |
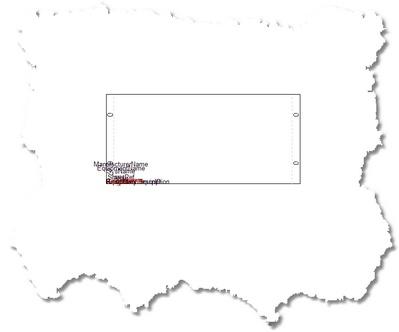
WireCAD will place a panel at the coordinates 0,0 with all of the necessary Attributes. You have but to adjust their placement and add any embellishments.
|
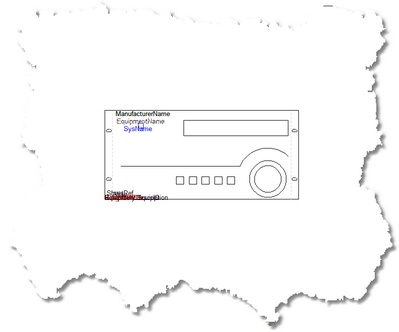
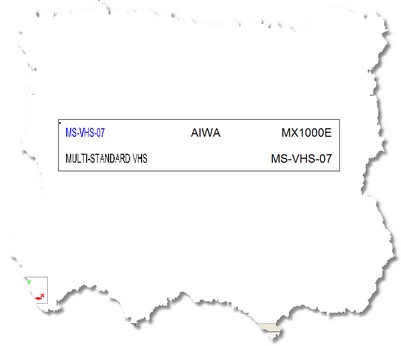
4. Add whatever detail you want and rearrange the Attributes.
Note: When grouped into a Block all of the attributes at the bottom left hand side of the panel will be made invisible. |
|
5. Save this file to the %BLOCKS% support path. Now it is ready to be pointed to from the Equipment Library BlockRef field. |
|