Navigation: Reporting Functions >
Creating New Reports


|
Navigation: Reporting Functions > Creating New Reports |
|
|
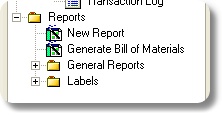
The New Report Wizard ![]()
Menu: File>New Report (Active Report Required or You Will not See the Menu and Must Use the Project Explorer).
Default keyboard shortcut: None
Function:
Clicking New Report in the Project Explorer will present the New Report Wizard. This will lead you through the steps of creating a new report. You are given opportunity to select the data from which to create the report, define relationships, sorting, and appearance.
How To: Create a New Report
|
Start the command by clicking on the icon in the Project Explorer. |
|
Select the database to report on. |
|
Select the table(s) and fields to add to the report. When in doubt, add more fields than you think you may need as you can remove them later. Adding them later is more difficult.
If you select more than one table, you will be given an opportunity to determine the relationship between the tables. |
|
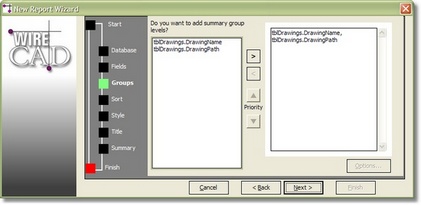
Set up any Groups. |
|
Set the Sort Order. |
|
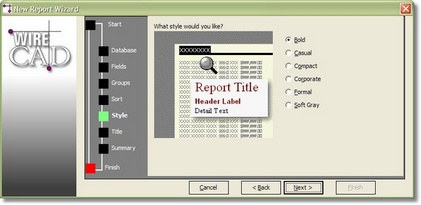
Set the report Style. |
|
Give it a title. |
|
|
|
At this point the report is created and presented in Print Preview mode.
We are almost done. |
|
Switch to Design View. |
|
You will probably want to modify the layout of the fields here. You can make use of all the Design Tools.
Save the Report to either the General Reports or the Label Reports Support Path. |
|
Switch to Print Preview the see the final output. |
The Report Wizard does not currently support the direct creation of Labels. The best way to create a new label definition is to modify an existing one. Do this by opening an existing definition, switch to Design View and save it as a new name. Next, modify it to accommodate your needs.