|
Standard |
  
|
|
Standard |
|
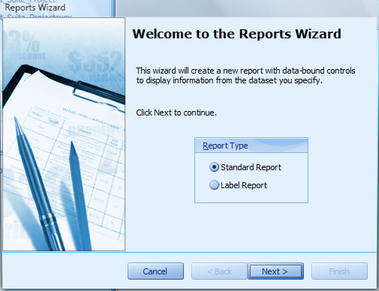
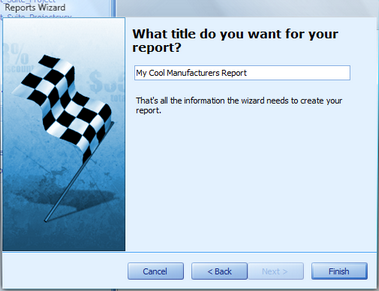
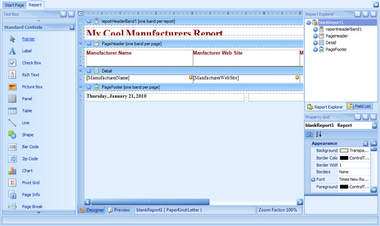
Menu: Report>New Report with Wizard Default command line shortcut: rw Create a new report |
Applies To: XLT PRO Related Settings: None |
How To: Create a New Report |
|||
|
|
||
|
|||
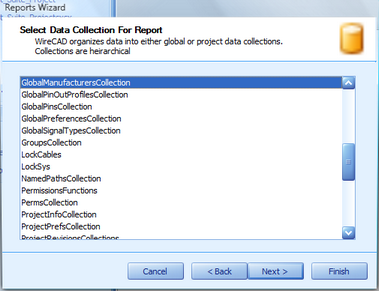
Note: collections are hierarchical to aid in the creation of subreports. All collections are populated with data when the report is previewed. |
|
||
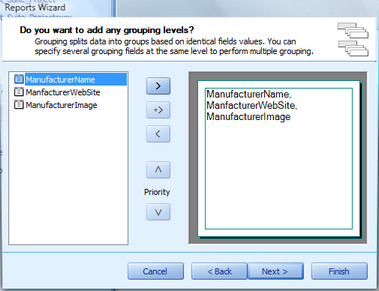
Note: use the > >> < << buttons in the center of the two lists to move items between the lists |
|
||
|
|
||
Note: the Adjust field width to fit function will force all selected fields on to a single page possibly rendering some of the data unreadable. If you have lots of fields to display, consider using a Justified report |
|
||
|
|
||
|
|
||
|
|
||
|
|||