|
Getting Started |
  
|
|
Getting Started |
|
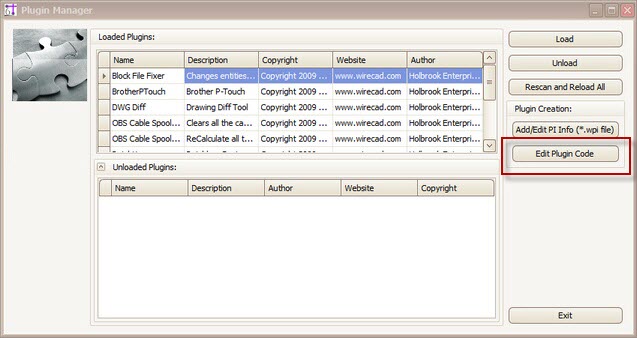
Menu: Plugins>Plugin Manager[Edit Plugin Code] Default command line shortcut: none To get started writing plugins for WireCAD launch the #Develop (pronounced sharp develop) development environment. |
Applies To: XLT PRO Related Settings: None |
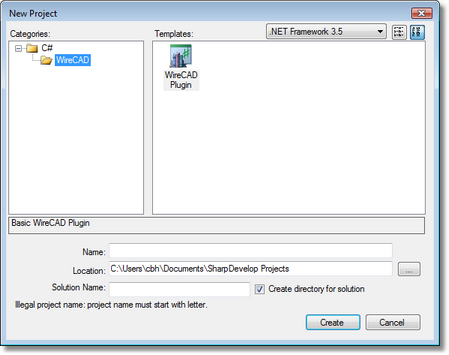
Click File>New>Solution |
|
|
|
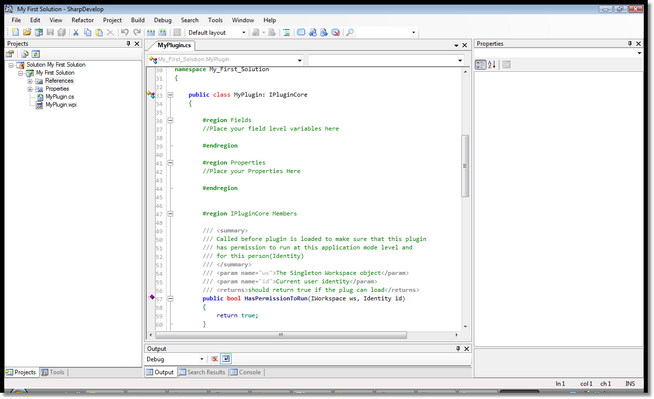
Click [Create] and a new solution will be created for you with all the necessary references and interface files. |
|
Now start coding! |
|
|
|
To test your plugin make sure that is copied to the WireCAD\bin folder and that your .wpi manifest file is in the WireCAD\Bin\Plugins folder. Relaunch WireCAD or click [Rescan and Reload] from the WireCAD Plugin Manager to make WireCAD load your plugin |
|
Debugging Your Code |
|
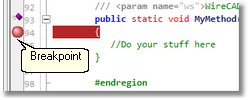
To debug you will attach the #Develop debugger to the main WireCAD process by clicking Debug>Attach to Process and select WireCAD from the list of running processes. You can place breakpoints by clicking on the left edge of the edit space.
When code is executing with the debugger attached and the breakpoint is hit code will stop executing and allow you to examine variables. To continue execution use the Continue, or Step functions. |
|
Happy coding! |
|